Well Being Bling
Wearable Exploration: Wellness
A mood-ring that helps keep track of the wearer’s well being. The wearer presses buttons on the wrist when they’ve eaten, hydrated, or gone outside. Based on their input the ring will change color as a visual indicator.
Inspiration
This was a project for a wearables class at NYU. As the first part of our assignment we made a map of our wellbeing. I noticed that my health is like a balancing act for me. I try to drink more water than coffee and alcohol. If I eat a lot of carbs and sweets, I try to follow it up with vegetables and fruit. When I work for extended periods of time, I try to fit in breaks for taking walks, reading, and knitting.
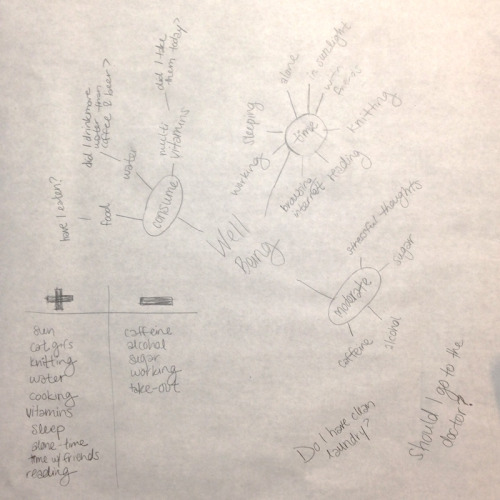
During last week’s discussion Weight Watchers came up as a simplified way for people to understand nutrition. I would like to have a similar point system, but something more symbolic. While thinking about wellbeing, and attaching sensors to my body, I started thinking about how I could create a system for tracking my health that is self-actuated. I like the idea of making something that feels “off the grid” and makes me more aware of my body. I loved how ITP alum Michelle Cortese used colors with her project log(me).
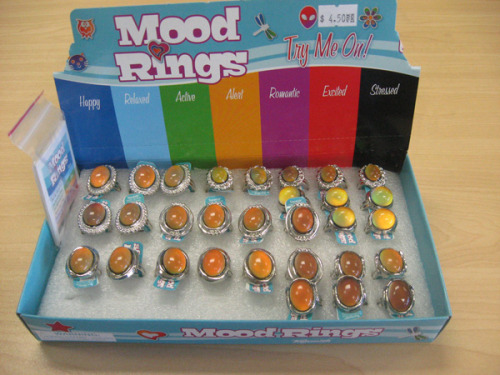
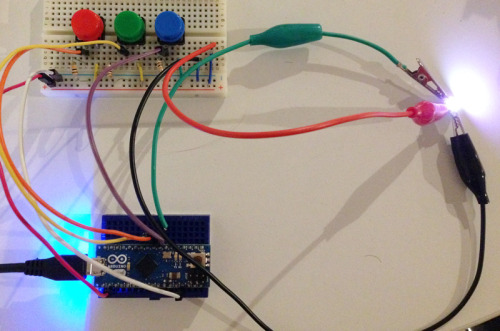
I started thinking about Mood Rings, which I loved when I was growing up, which I realized I could produce digitally with a programmable LED. I used a Neopixel that I hooked up to three buttons, one for each Red, Green and Blue.
Each color would represent a healthy activity. Pressing each button makes its color brighter and alters the overall color. Over time the colors fade, so they must be reactivated by logging healthy activities.
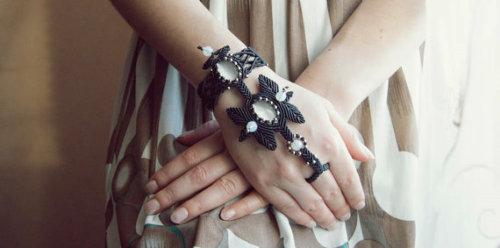
To make this wearable I needed a place to store the microcontroller, so I started looking into the design of bracelet rings. I found some really beautiful macrame designs on Etsy. This provides a convenient way to hide the hardware and wires.

Fabrication
I chose to build mine out of felt because it’s really nice for prototyping and would be a comfortable cuff. I started by sewing 3 fabric buttons with pull-down resistors.
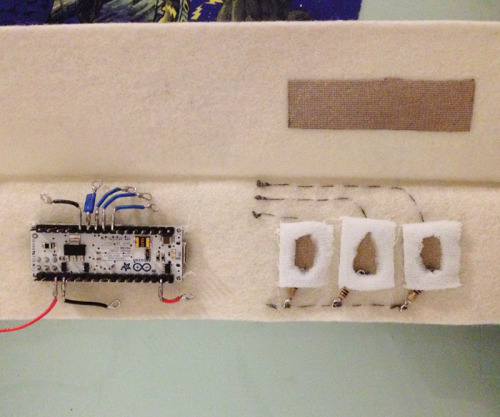
I chose to use an Arduino Micro, but I only had one with header pins soldered on, so I bent them and extended the pins I needed.

I wanted the bracelet to open easily for trouble-shooting so I added a snap that connects the buttons to power, and holds the cuff shut.
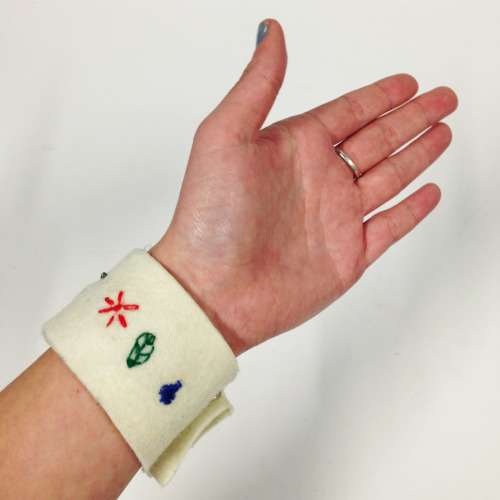

I labeled the buttons with some quick embroidery.I was not able to get this circuit to work quite right in this prototype, but here is how I imagine it to work.